Kudos, Kudos, Kudos !! Not Kudos for anything but ‘Kudos Calendar’ (tada~~~)
Be more productive with "Kudos Calendar"


Introduction 🙋🏻
"Kudos Calendar" is a lightweight web application that allows every user to create tasks or events with easier and simpler features.

The Problem 🕵️♂️
Nowadays, we prefer things to be simple and convenient in our daily lives.

So, I imagine developing a calendar so that we can create daily tasks or events in a user-friendly way which are not way complicated to use and can increase our productivity.
In addition, it would be best when we start our day by checking the plans in our calendars that show us all the tasks for the day and keep us interacting whenever we check our schedule.
So far, some features of calendars we have seen require more complicated ways to just access the tasks and sometimes we only use them for checking the date and time only.
The Solution and Motivation 💡
Story Behind 📚
My "Kudos Calendar" is here for everyone to use now !! Woohoo.
The reason it is called ‘Kudos’ is because it reminds me of one of my beautiful memories while I was working at my previous workplace.
I remember my HR manager praised and said ‘Kudos’ to me for having done a good team player :D.
Moreover, the obvious reason I participate in AWS Amplify Hackathon is that I want to take this chance to explore more about myself and develop my skills through this challenge and gain more experience in AWS Cloud Service.
Technology 👨🏻💻👩🏻💻
Utilized Cloud Services:
- AWS S3
- AWS Cognito
- AWS AppSync
- AWS DynamoDB
- AWS CloudWatch
- AWS Lambda
Vue3 Composition API 🧑🎤⚙️
Actually, I have experience in Vue2 Options API. But for this Kudos Client, I would like to try the Composition API 😁.
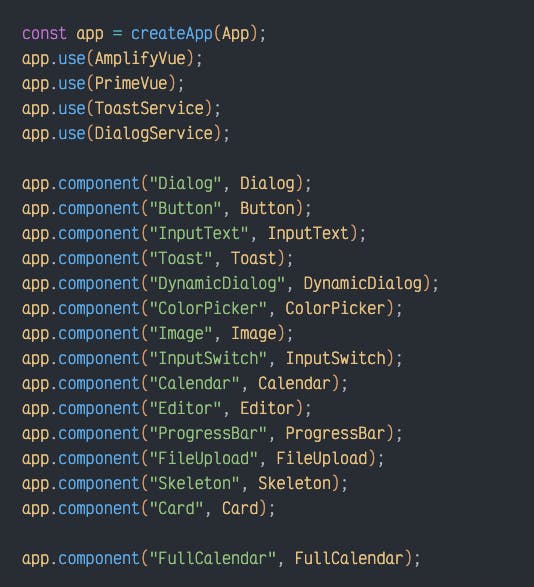
PrimeVue & PrimeFlex 🖥⚙️
It is my first time using this library.
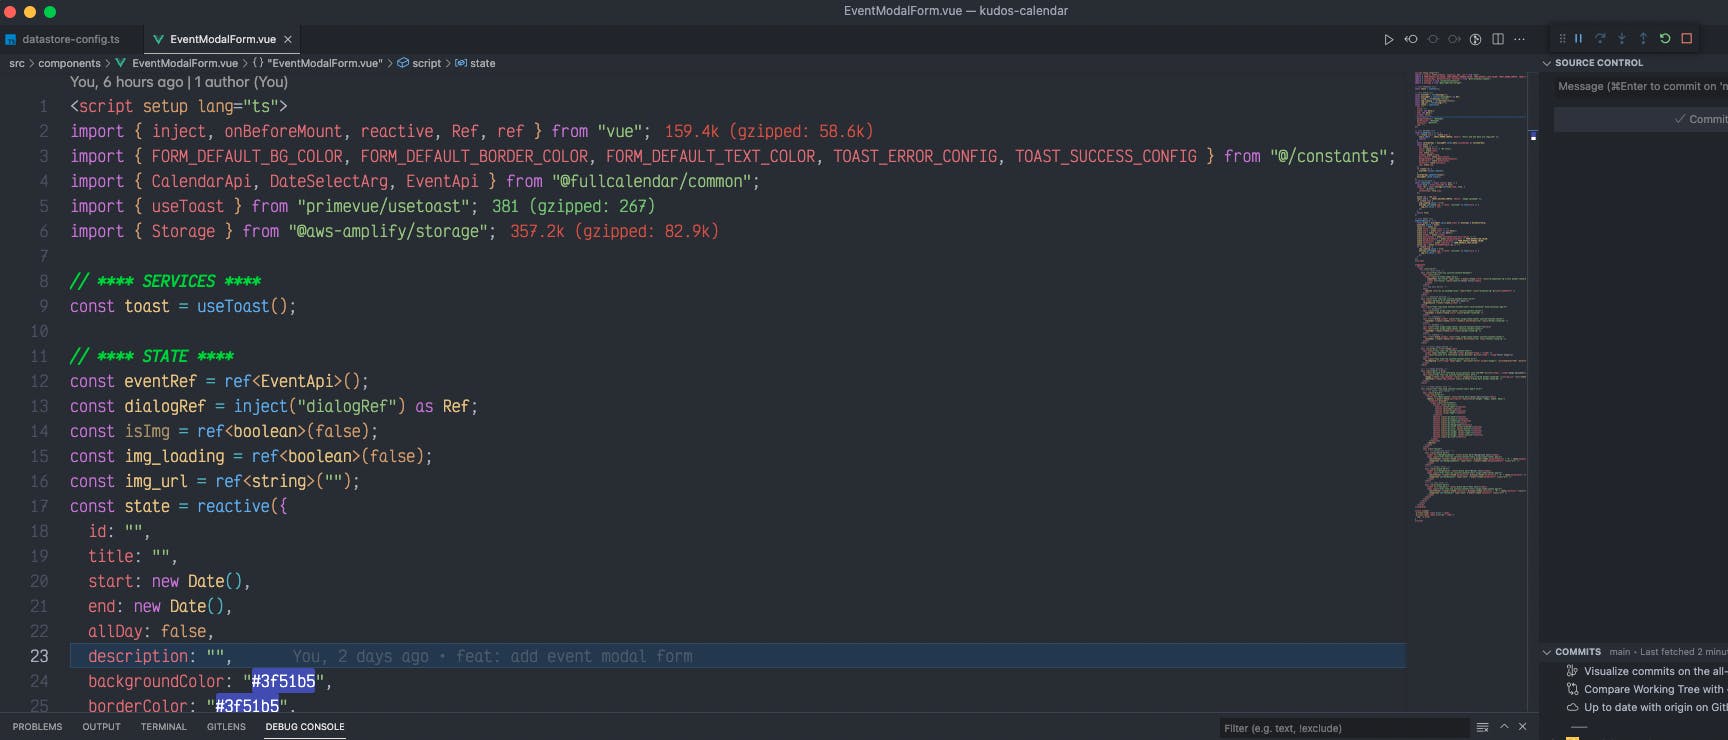
Code
Full Calendar 🗓⚙️
AWS Amplify NPM 🛠⚙️
To Install the package:
yarn install aws-amplify
or
npm install aws-amplify
-
First, I built my own code for Authentication UI because I didn't know that amplify provides the Authentication UI...
Then I deleted my code and use Amplify UI Vue library instead. I swear it prettily saves time. I just customize the CSS style for what I want. It also supports other frameworks such as React Angular Flutter React Native.
<template>
  <authenticator :form-fields="formFields">
    <template #header>
      <div style="padding: var(--amplify-space-large); text-align: center; margin-bottom: -120px; margin-top: -120px">
        <img class="amplify-image" alt="Amplify logo" src="logo.png" style="transform: scale(0.4)" />
      </div>
    </template>

    <template #sign-in-header>
      <h3 class="amplify-heading" style="padding: var(--amplify-space-xl) 0 0 var(--amplify-space-xl); font-weight: bold">Sign in to your Kudos Calendar</h3>
    </template>

    <template #sign-up-header>
      <h3 class="amplify-heading" style="padding: var(--amplify-space-xl) 0 0 var(--amplify-space-xl); font-weight: bold">Create a new Kudos Member</h3>
    </template>

    <template #footer>
      <div style="padding: var(--amplify-space-large); text-align: center">
        <p class="amplify-text" style="color: var(--amplify-colors-neutral-80)">© All Rights Reserved 2022</p>
      </div>
    </template>
  </authenticator>
</template>

<script setup lang='ts'>
const formFields = {
  signIn: {
    username: {
      labelHidden: false,
      placeholder: "Enter your email",
    },
    password: {
      labelHidden: false,
      placeholder: "Enter your password",
    },
  },
  signUp: {},
  forceNewPassword: {
    password: {
      labelHidden: false,
      placeholder: "Enter your Password:",
    },
  },
  resetPassword: {
    username: {
      labelHidden: false,
      placeholder: "Enter your email:",
    },
  },
  confirmResetPassword: {
    confirmation_code: {
      labelHidden: false,
      placeholder: "Enter your Confirmation Code:",
      label: "New Label",
      isRequired: false,
    },
    confirm_password: {
      labelHidden: false,
      placeholder: "Enter your Password Please:",
    },
  },

  confirmSignIn: {
    confirmation_code: {
      labelHidden: false,
      label: "New Label",
      placeholder: "Enter your Confirmation Code:",
      isRequired: false,
    },
  },
};
</script>

<style lang="scss">
.amplify-button--primary {
  background-color: #5271ff;
  color: #fff;
  border: none;
  border-radius: 0.5rem !important;
  padding: 0.5rem 1rem;
  font-size: 1rem;
  font-weight: 500;
  cursor: pointer;
  transition: all 0.2s ease-in-out;
  &:hover {
    background-color: #5271ff;
    color: #fff;
    opacity: 0.8;
  }
}
.amplify-button--link {
  background-color: transparent;
  color: #5271ff;
  border: none;
  border-radius: 0.5rem !important;
  padding: 0.5rem 1rem;
  font-size: 1rem;
  font-weight: 500;
  cursor: pointer;
  transition: all 0.2s ease-in-out;
  &:hover {
    color: #5271ff;
    opacity: 0.8;
  }
}
.amplify-input {
  border: 1px solid #5271ff;
  border-radius: 0.5rem !important;
  padding: 0.5rem 1rem;
  font-size: 1rem;
  font-weight: 500;
  width: 100%;
  &:focus {
    outline: none;
    border: 1px solid #5271ff;
  }
  &::placeholder {
    color: #5271ff;
  }
}
[data-amplify-authenticator] [data-amplify-router] {
  background-color: rgb(238, 248, 246);
  border-bottom-left-radius: 1.5rem;
  border-bottom-right-radius: 1.5rem;
}
.amplify-tabs-item[data-state="active"] {
  background-color: #5271ff;
  color: #fff;
  border-color: grey;
}
.amplify-label {
  font-size: 1rem;
  font-weight: 500;
  color: #5271ff;
}
.amplify-icon {
  color: #5271ff;
}
</style>
-
Amplify DataStore provides a programming model for leveraging shared and distributed data without writing additional code for offline and online scenarios. It helps me to manage the CRUD operation well, especially in organizing the clean code structure.
const updateEvent = async (eventApi: EventApi): Promise<Events | void> => { const event = mapEventData(eventApi); const eventRes = await DataStore.query(Events, event.id); if (!eventRes) return toast.add({ ...TOAST_ERROR_CONFIG, detail: "Event Not Found" }); const res = await DataStore.save(Events.copyOf(eventRes, (updated) => Object.assign(updated, event))); toast.add({ ...TOAST_SUCCESS_CONFIG, detail: "Event updated" }); return res; }; const addEvent = async (eventApi: EventApi): Promise<Events> => { const event = mapEventData(eventApi); const res = await DataStore.save(new Events(event)); toast.add({ ...TOAST_SUCCESS_CONFIG, detail: "Event added" }); return res; }; const deleteEvent = async (id: string) => { const res = await DataStore.delete(Events, id); toast.add({ ...TOAST_SUCCESS_CONFIG, detail: "Event deleted" }); return res; }; -
const onUploader = async (event: any) => { const file = event.files[0] as File; const res = await Storage.put(file.name, file, { level: "private", contentType: file.type, }); form.img = res.key; toast.add({ ...TOAST_SUCCESS_CONFIG, detail: "Image uploaded" }); if (form.img) { img_loading.value = true; Storage.get(form.img, { level: "private" }).then((res) => { img_url.value = res; }); } return file; }; -
I utilized the Hub Utility to listen to the DataStore ready status. So when it is ready then we can sync the data from the backend.
  import { DataStore, Hub } from "aws-amplify";

  export default async function startDataStoreConfig() {
      DataStore.configure();
      await DataStore.clear();
      await DataStore.start();
      await waitForDataStoreLoad();
  }

  const waitForDataStoreLoad = async () => {
      await new Promise<void>((resolve) => {
          Hub.listen("datastore", async (hubData) => {
              const { event } = hubData.payload;
              if (event === "ready") {
                  resolve();
              }
          });
      });
  };
Amplify Studio 🗄 ⚙️
By using Amplify Studio tools, I can manage the user privilege to integrate with another AWS service and design my backend seamlessly.
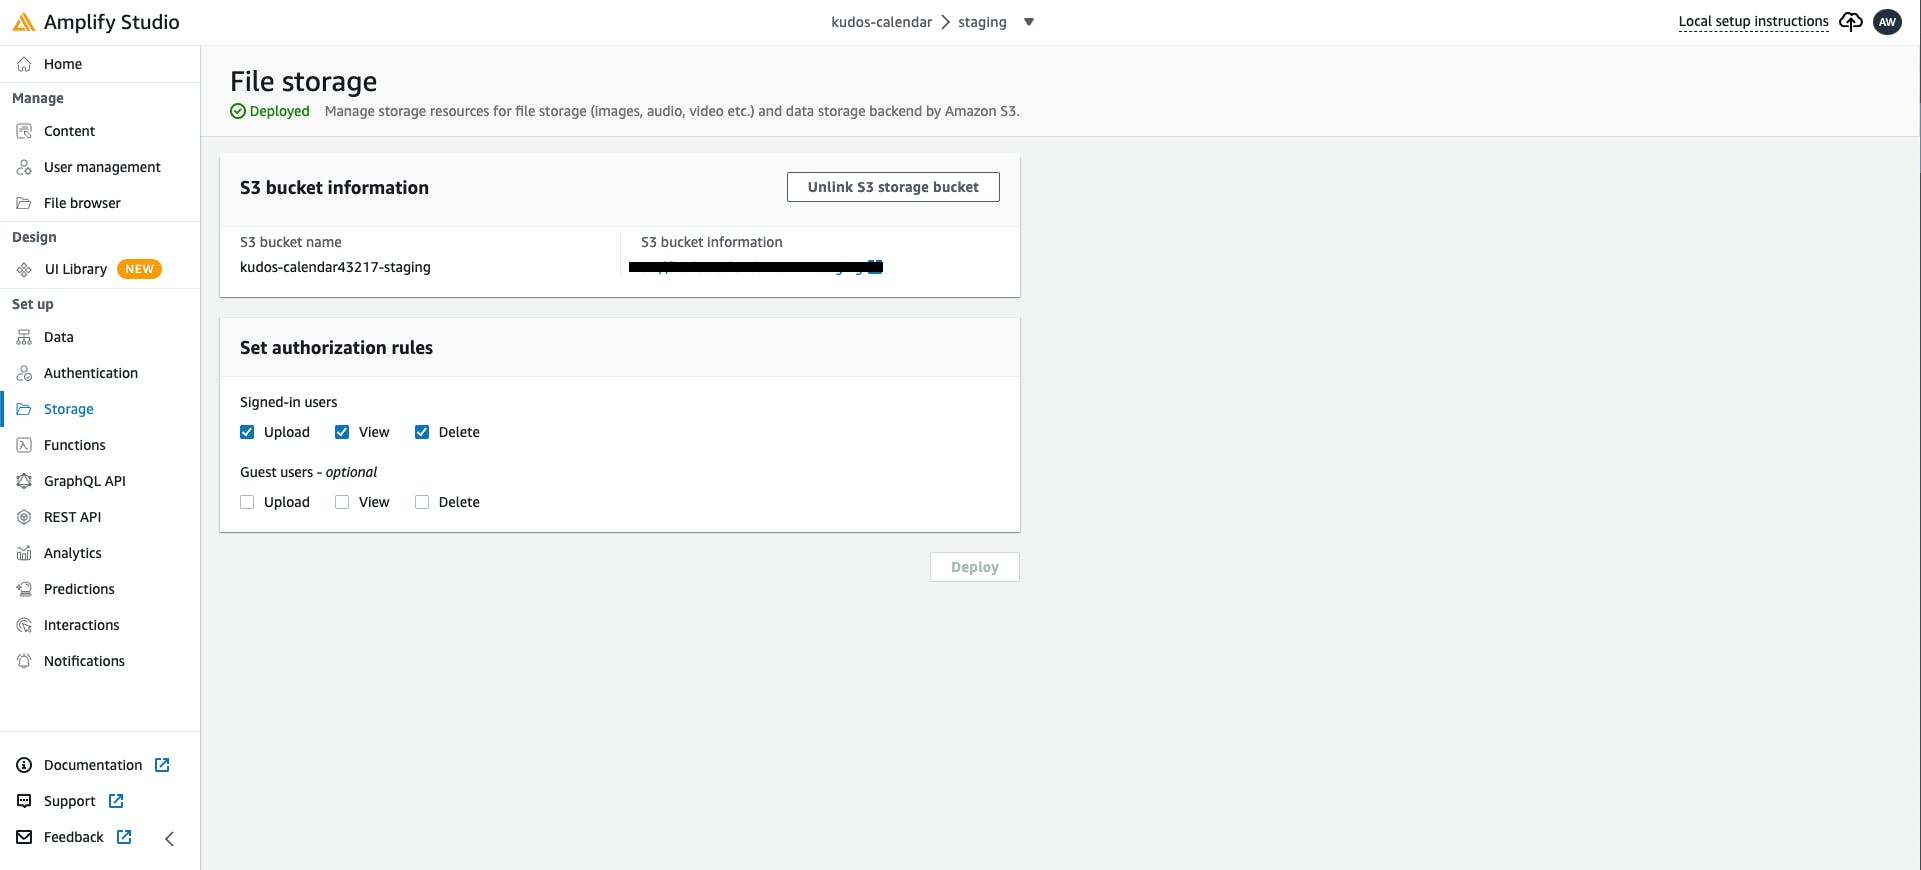
I utilized Amplify Studio to config Kudos Backend such as:
- Config Storage:
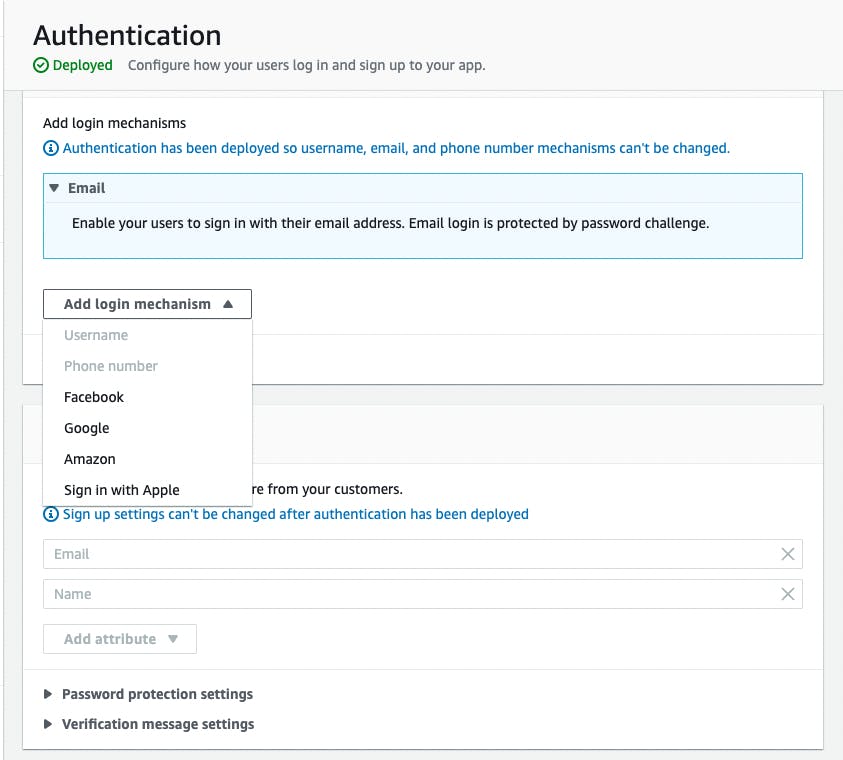
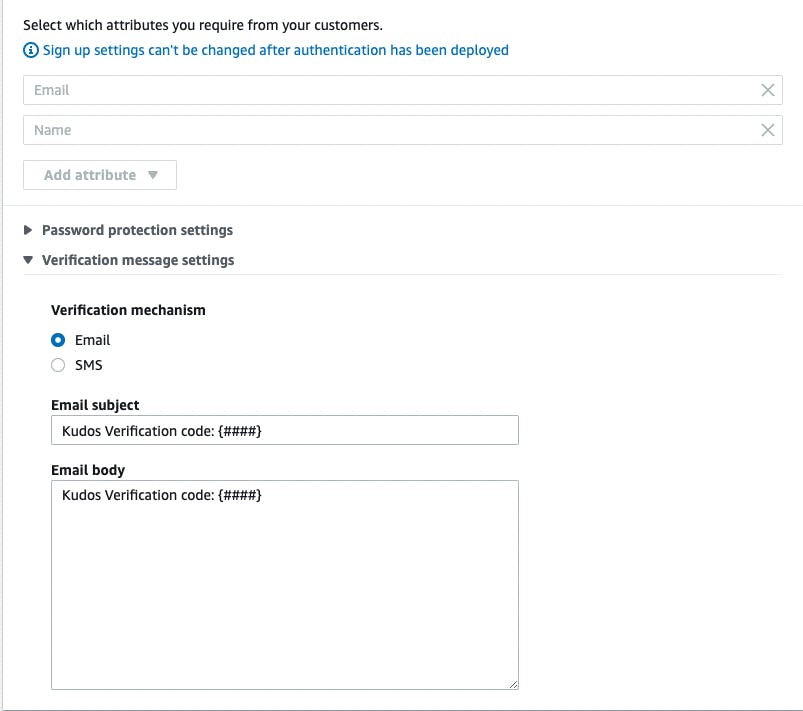
- Config User Authentication:
Here is my sample configuration.
- Design Data Model:
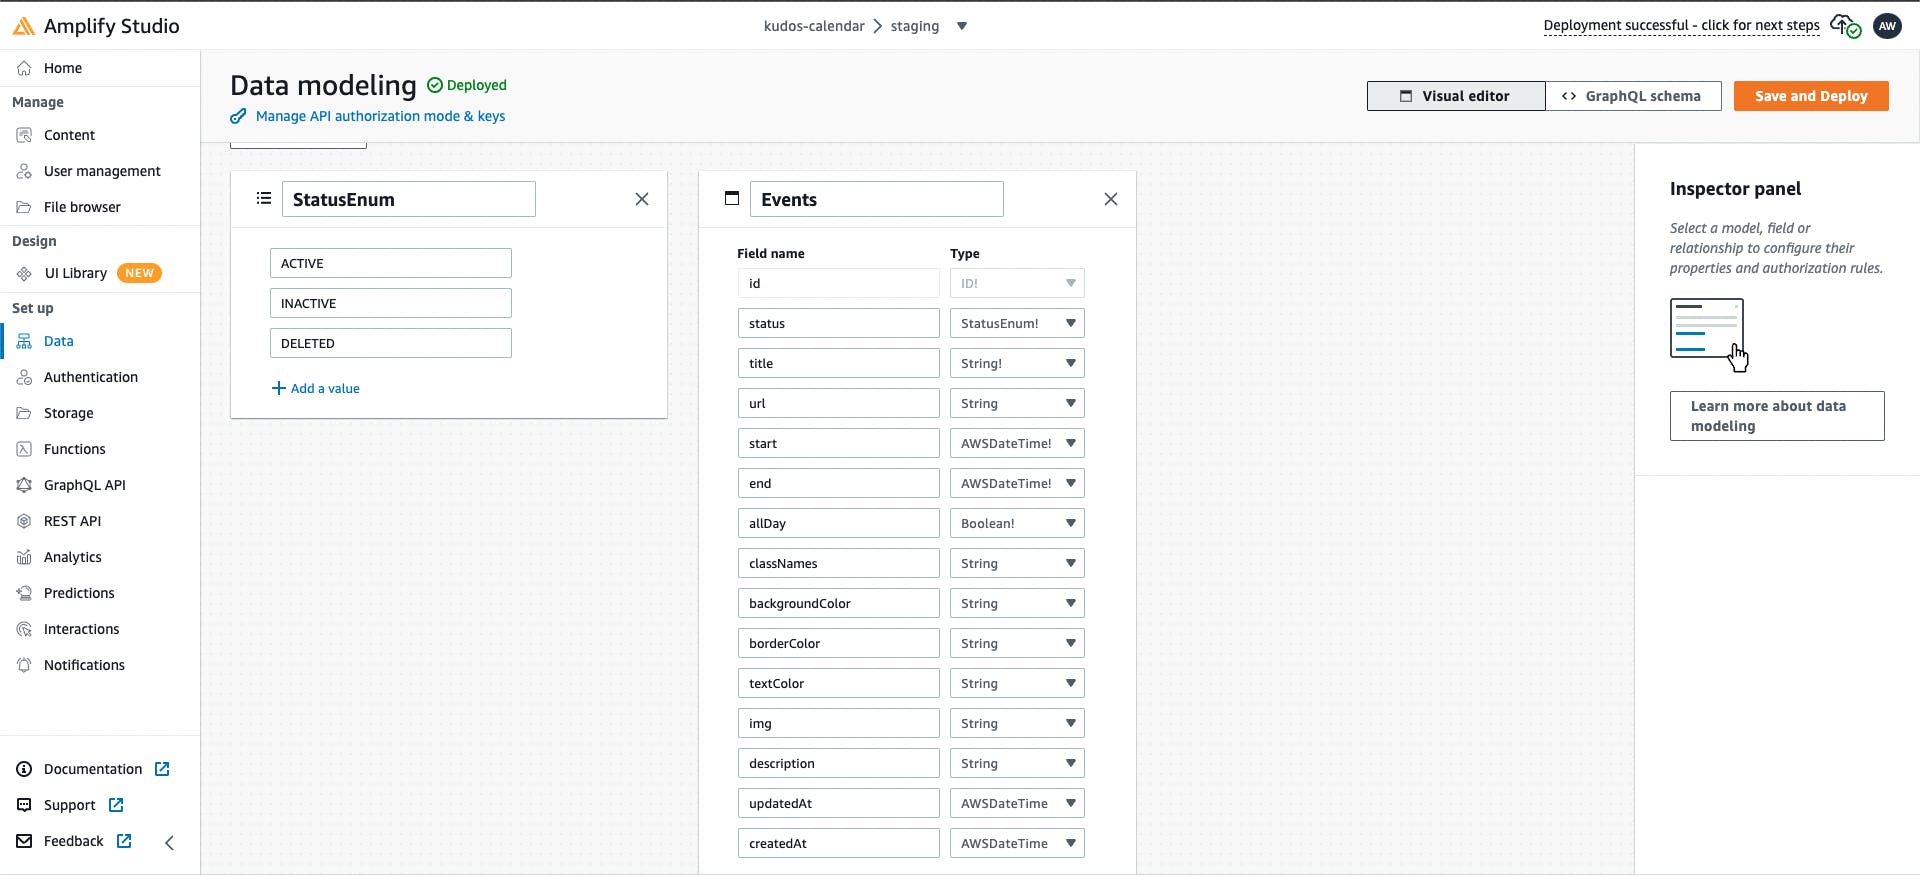
- Config GraphQL API:

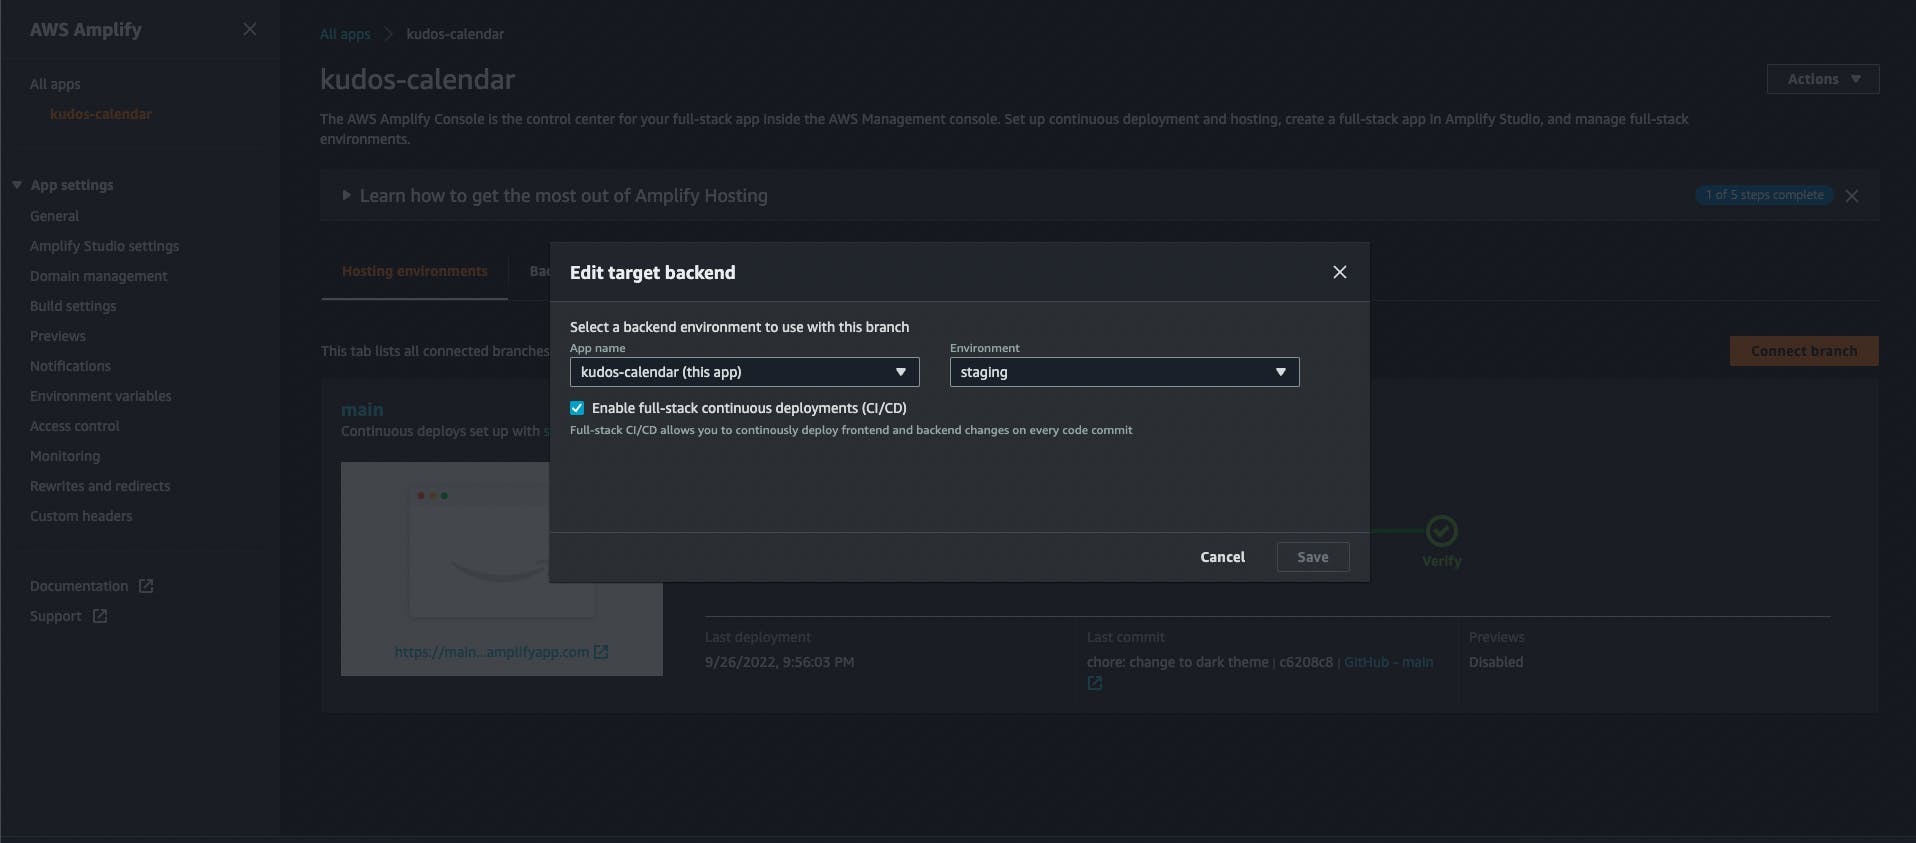
Amplify Hosting ☁️⚙️
I connect it to my GitHub repository and config it to deploy the app every time I pushed the code (CI/CD).
The Demo Video 🎞 and Repository 🗃
Repository: github.com/mengtongun/kudos-calendar
Demo Account:
Email: demo@user.com
Password: 12345678
Here is the video demo about how to use the Kudos Calendar.
The Features of Kudos 💁♂️🗓️✨
Some useful and main features of the Kudos Calendar are:
- Customize the event in the way we want (text color, highlight, bold, italic, adding link or images….)
- Be able to create events faster and easier (by clicking to create events and dragging to expand them)
UI Color Usages:
- Background:
#102832 - Primary:
#5271ff - Secondary:
#64B5F6 - Text-color:
#fff;
Now, let’s go and see what Kudos Calendar looks like!!!
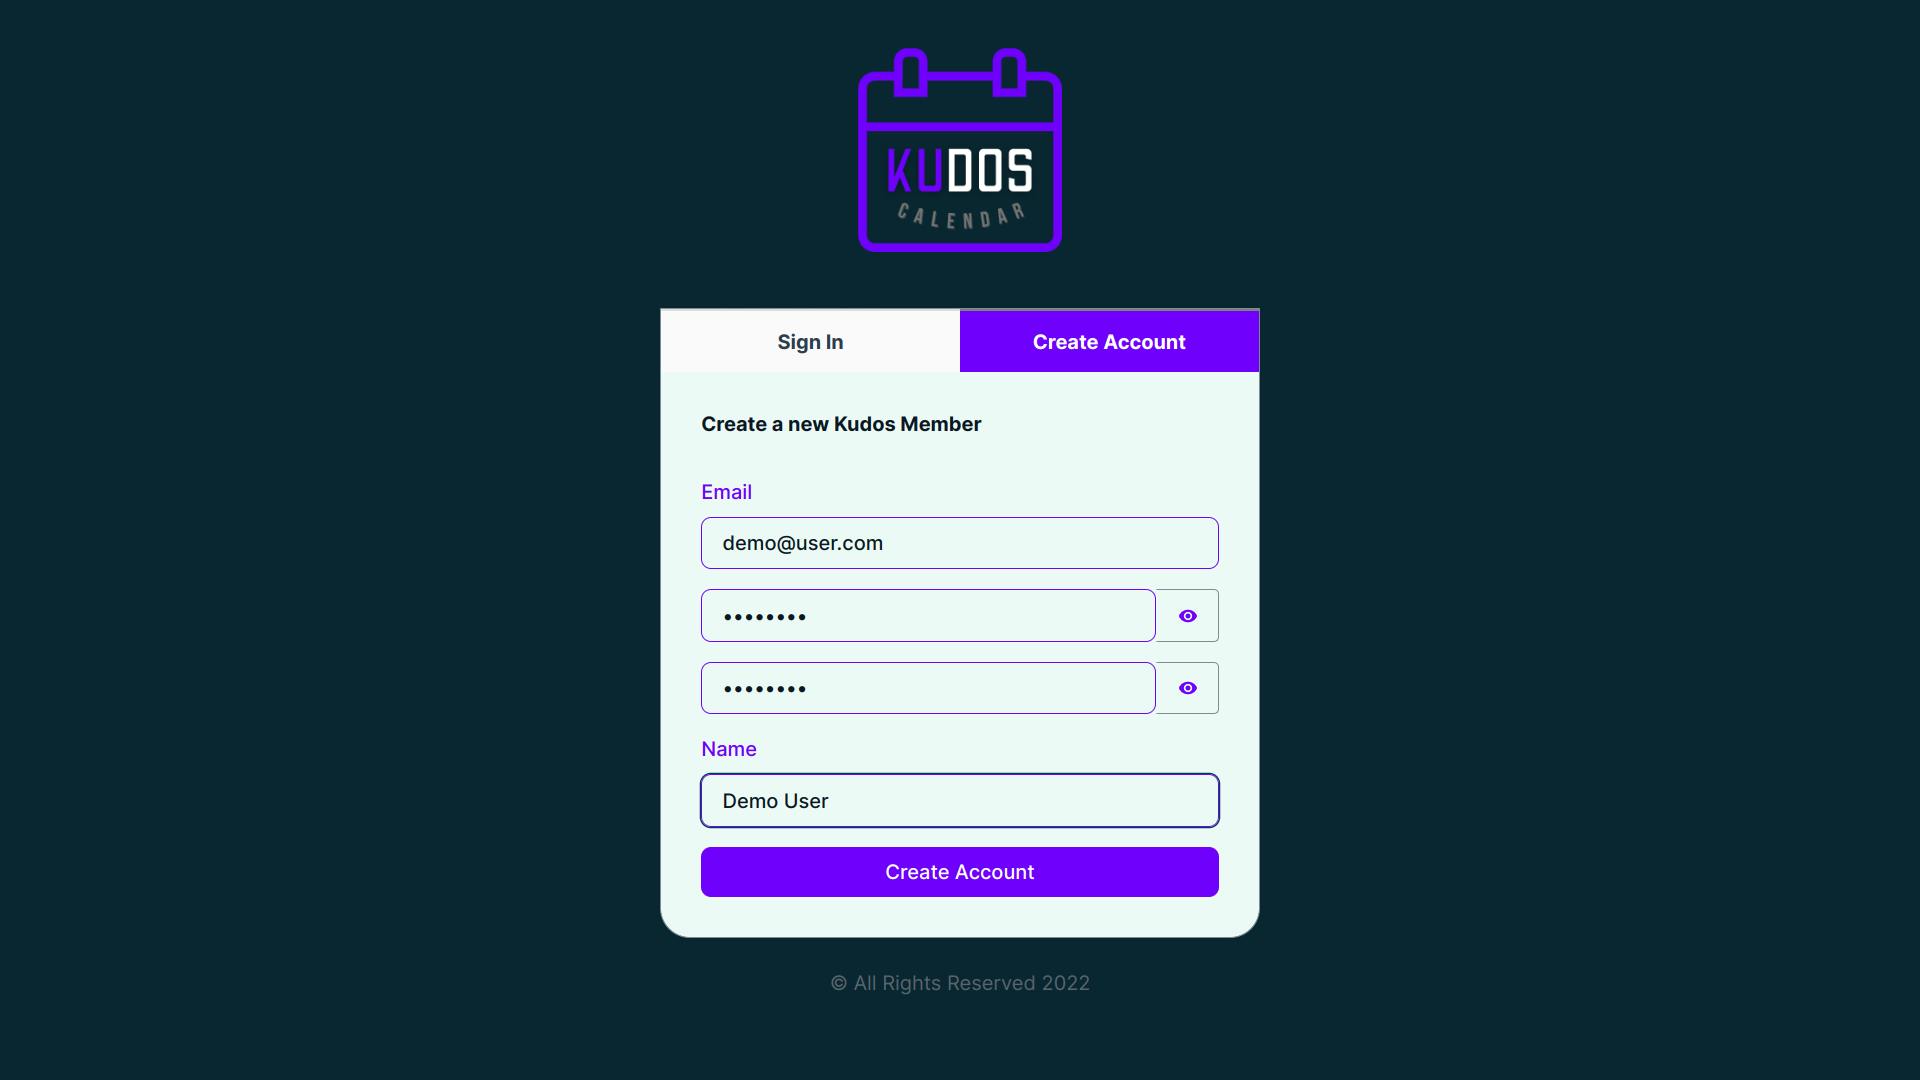
- Create your own Kudos
Check the email to get the code to verify. (If you don't see it in your inbox check the spam box)
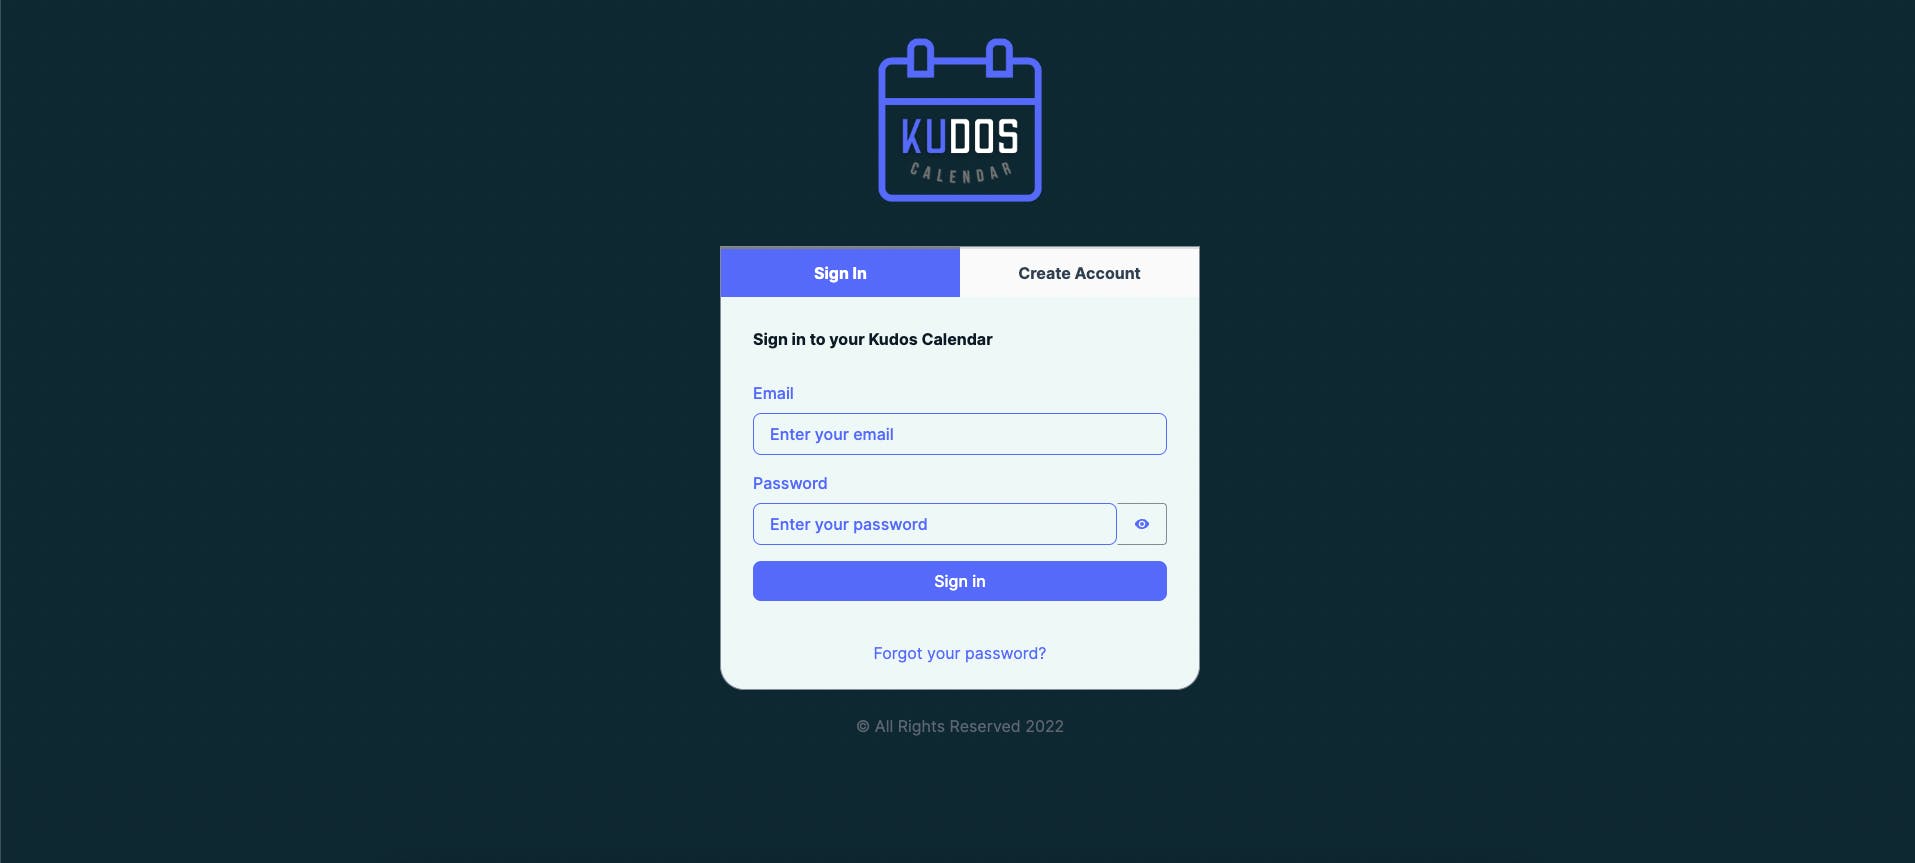
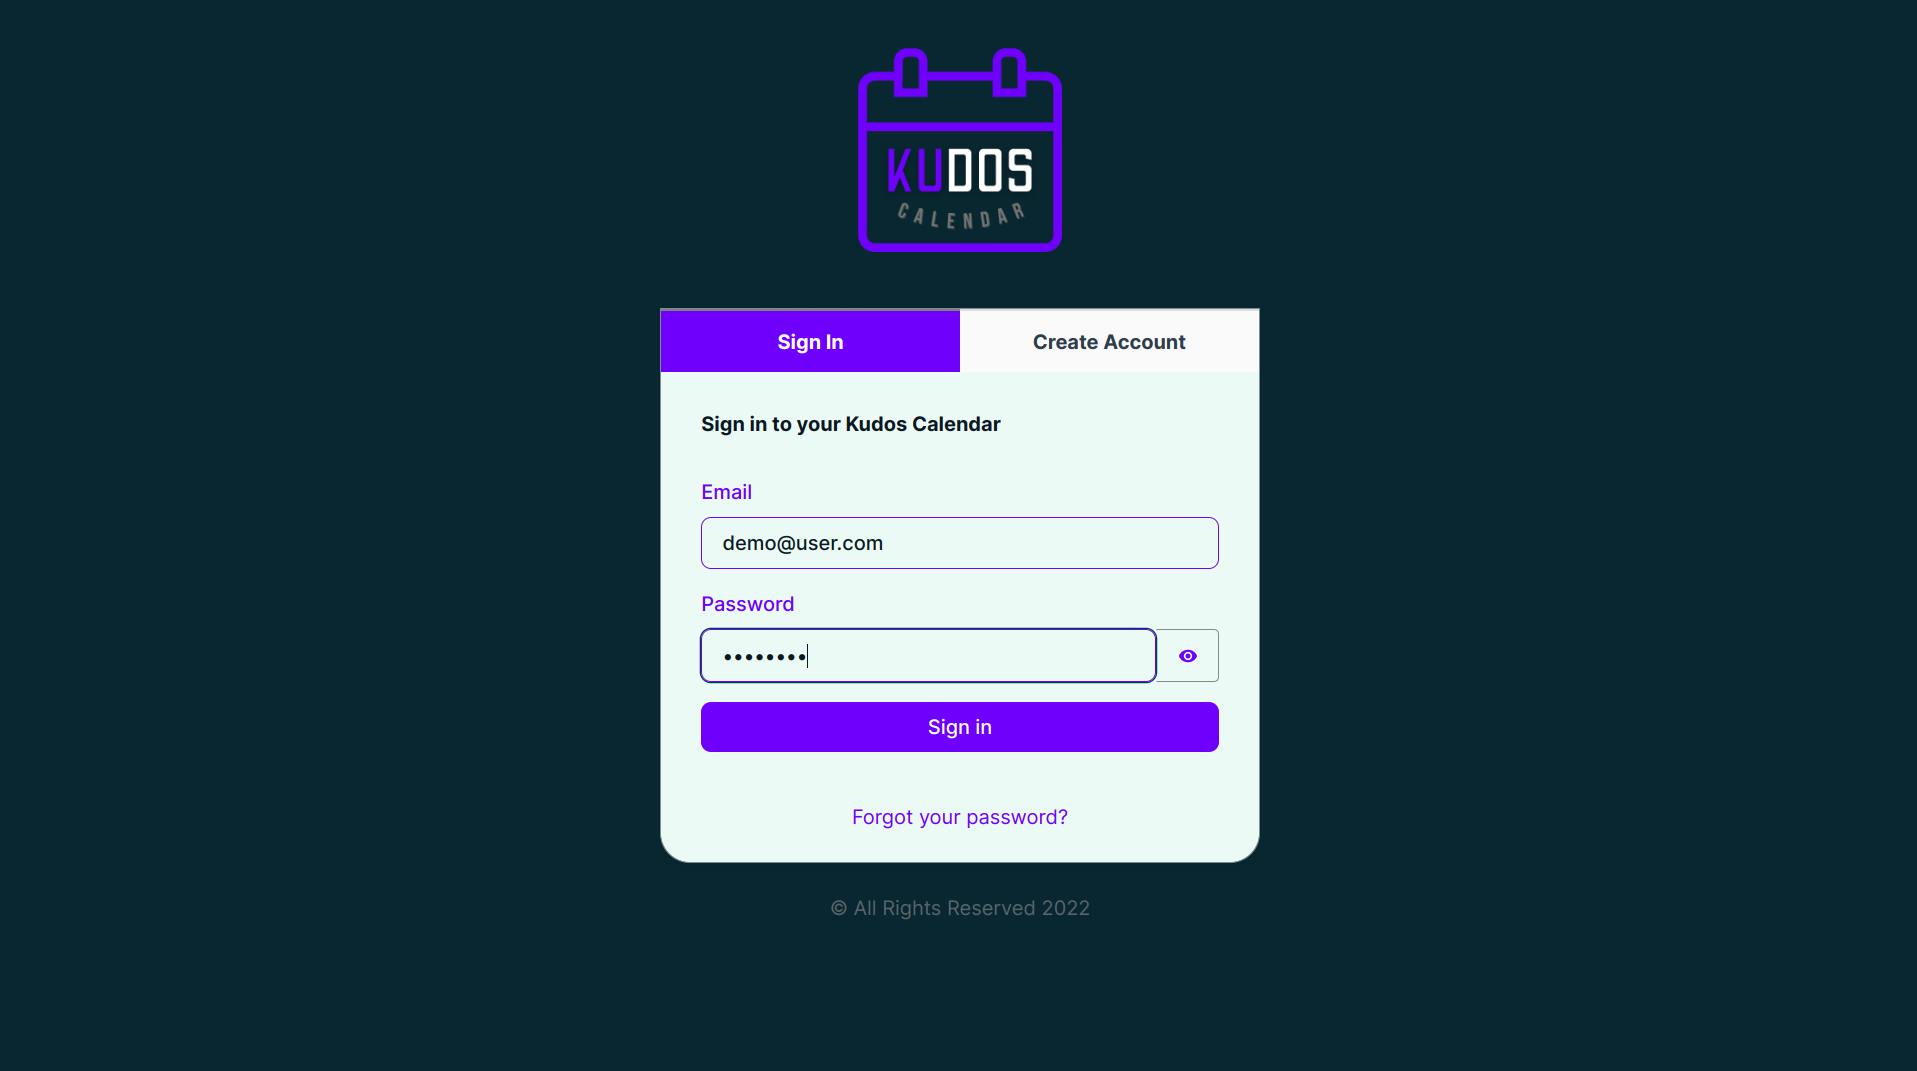
- Sign in to your Kudos
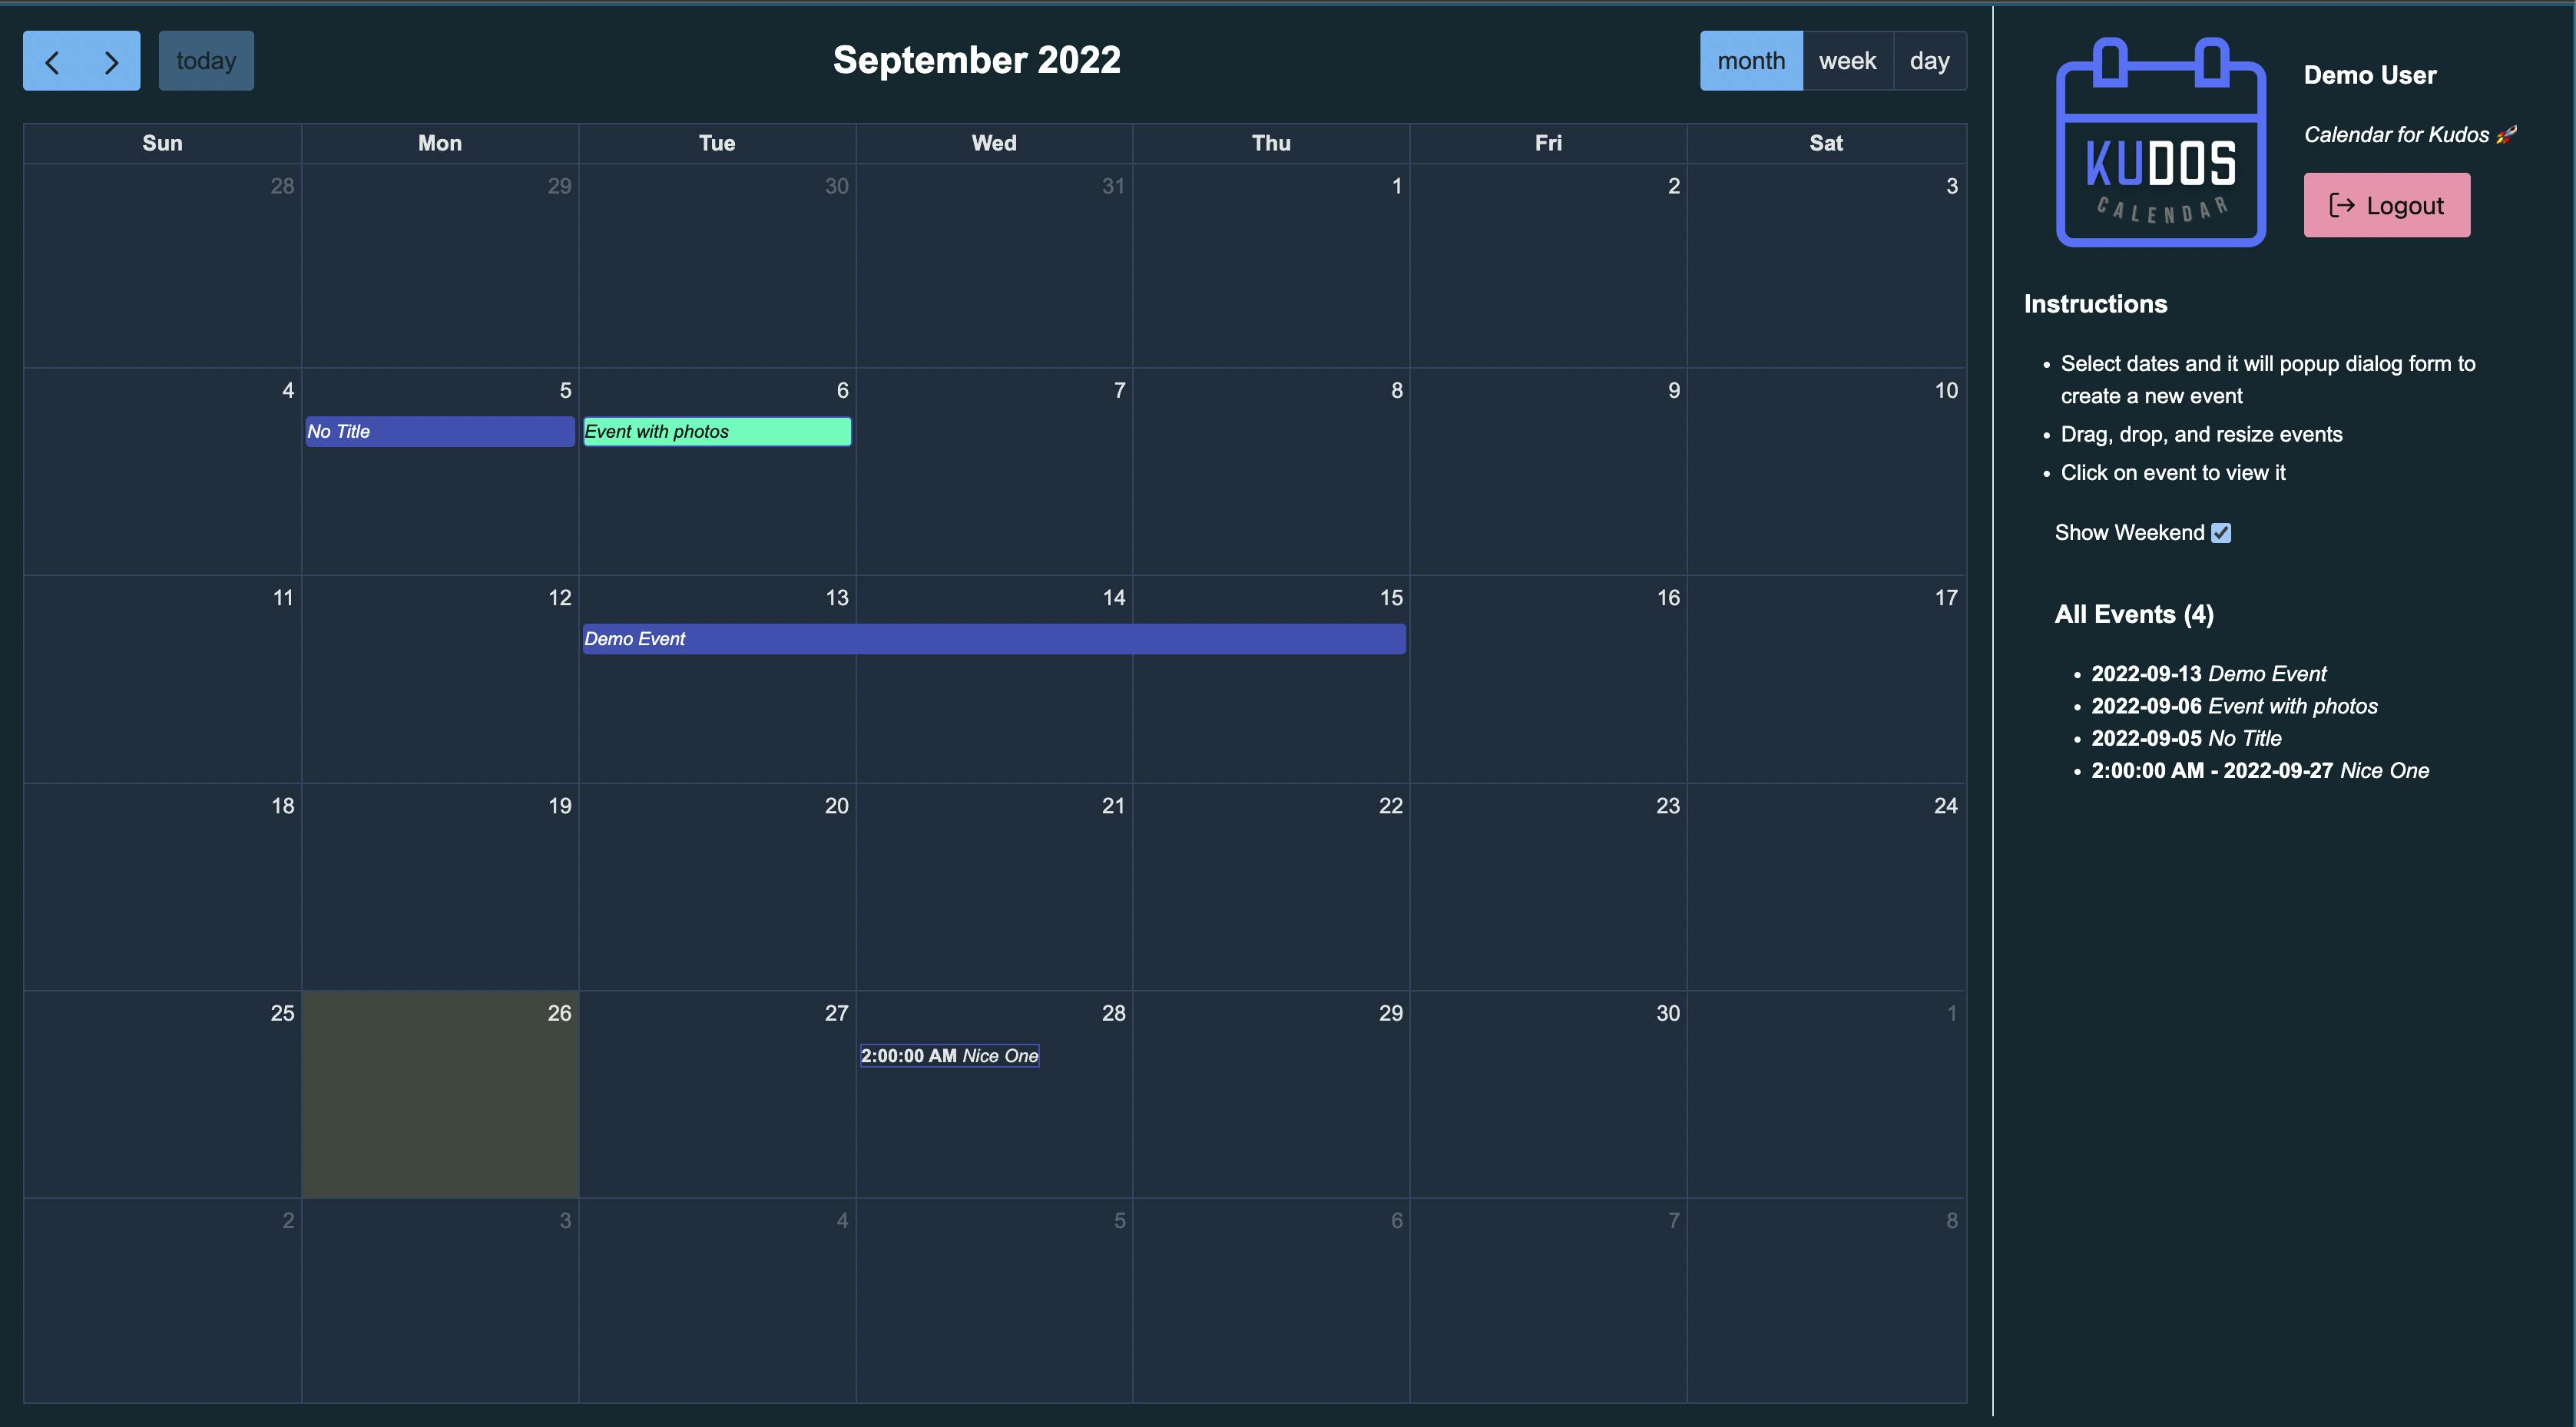
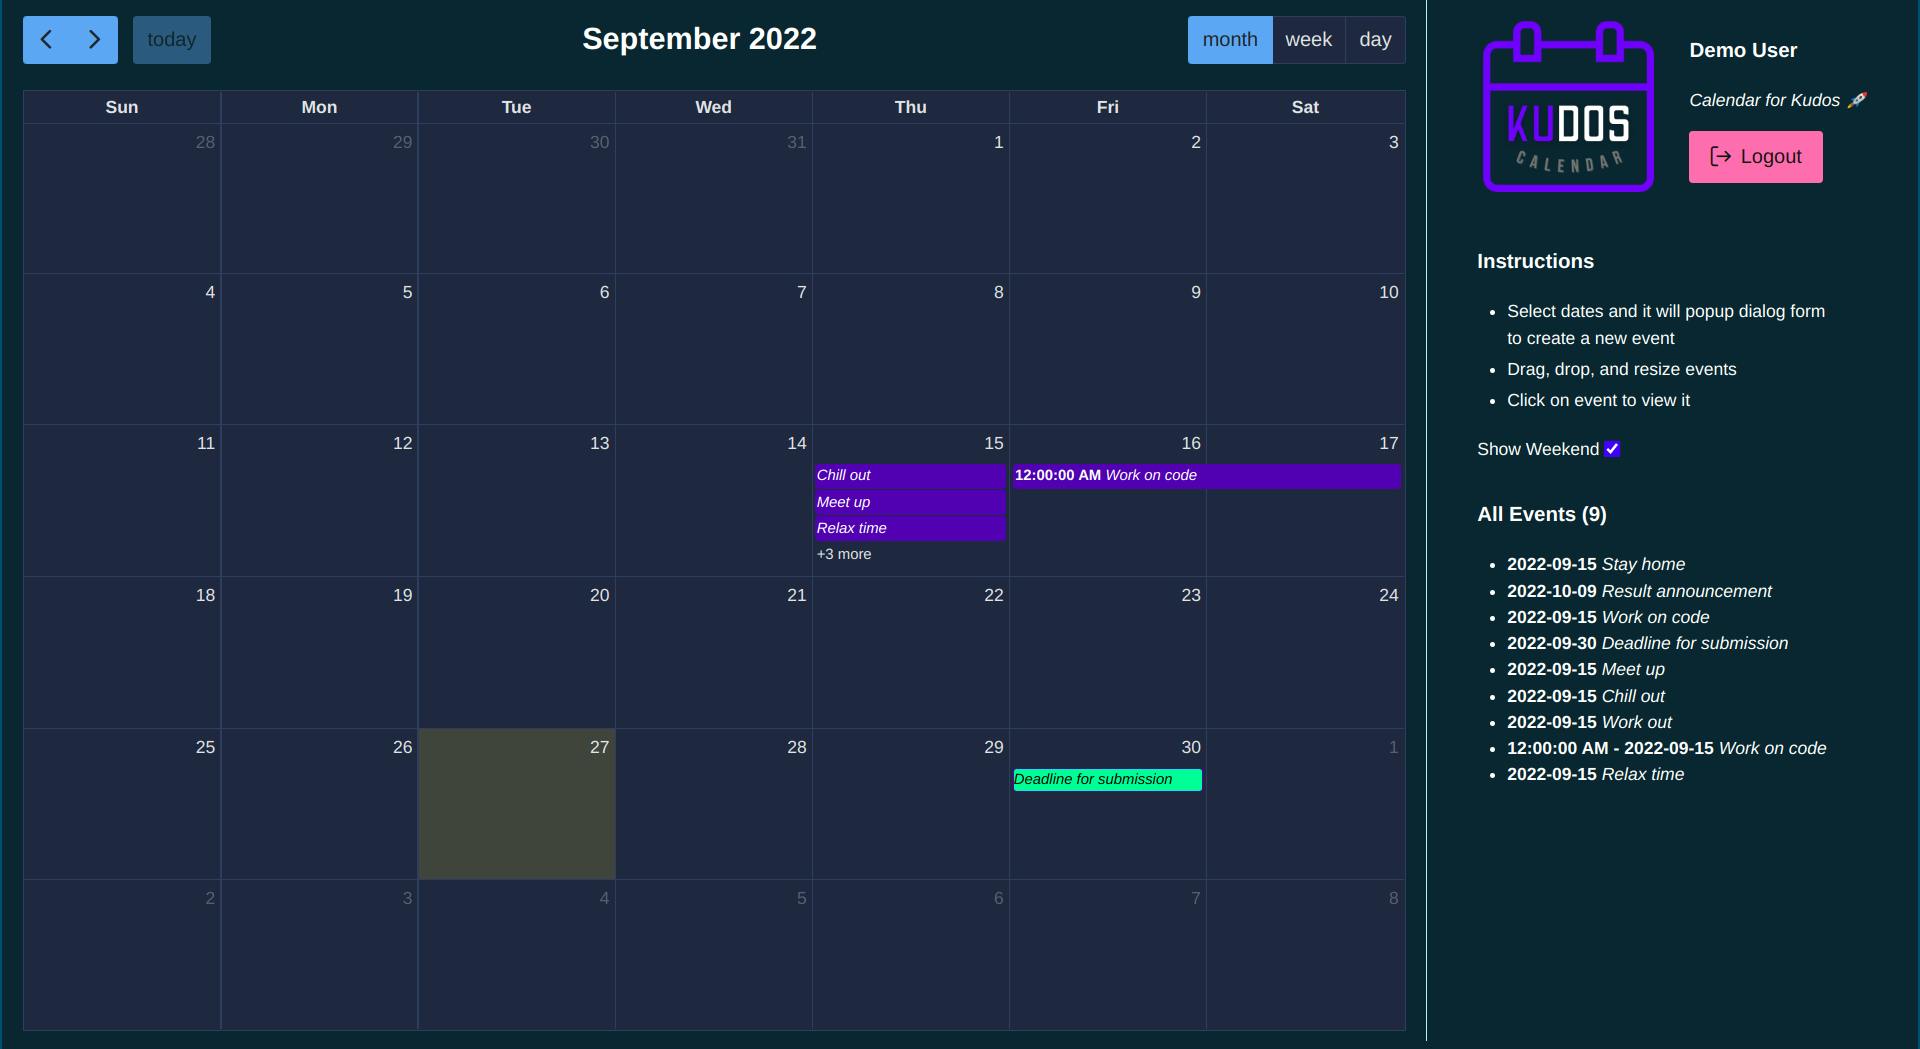
Finally, let's look inside my Kudos now :D
When we view it as a month (Have to add the deadline for submission in my Kudos :D)
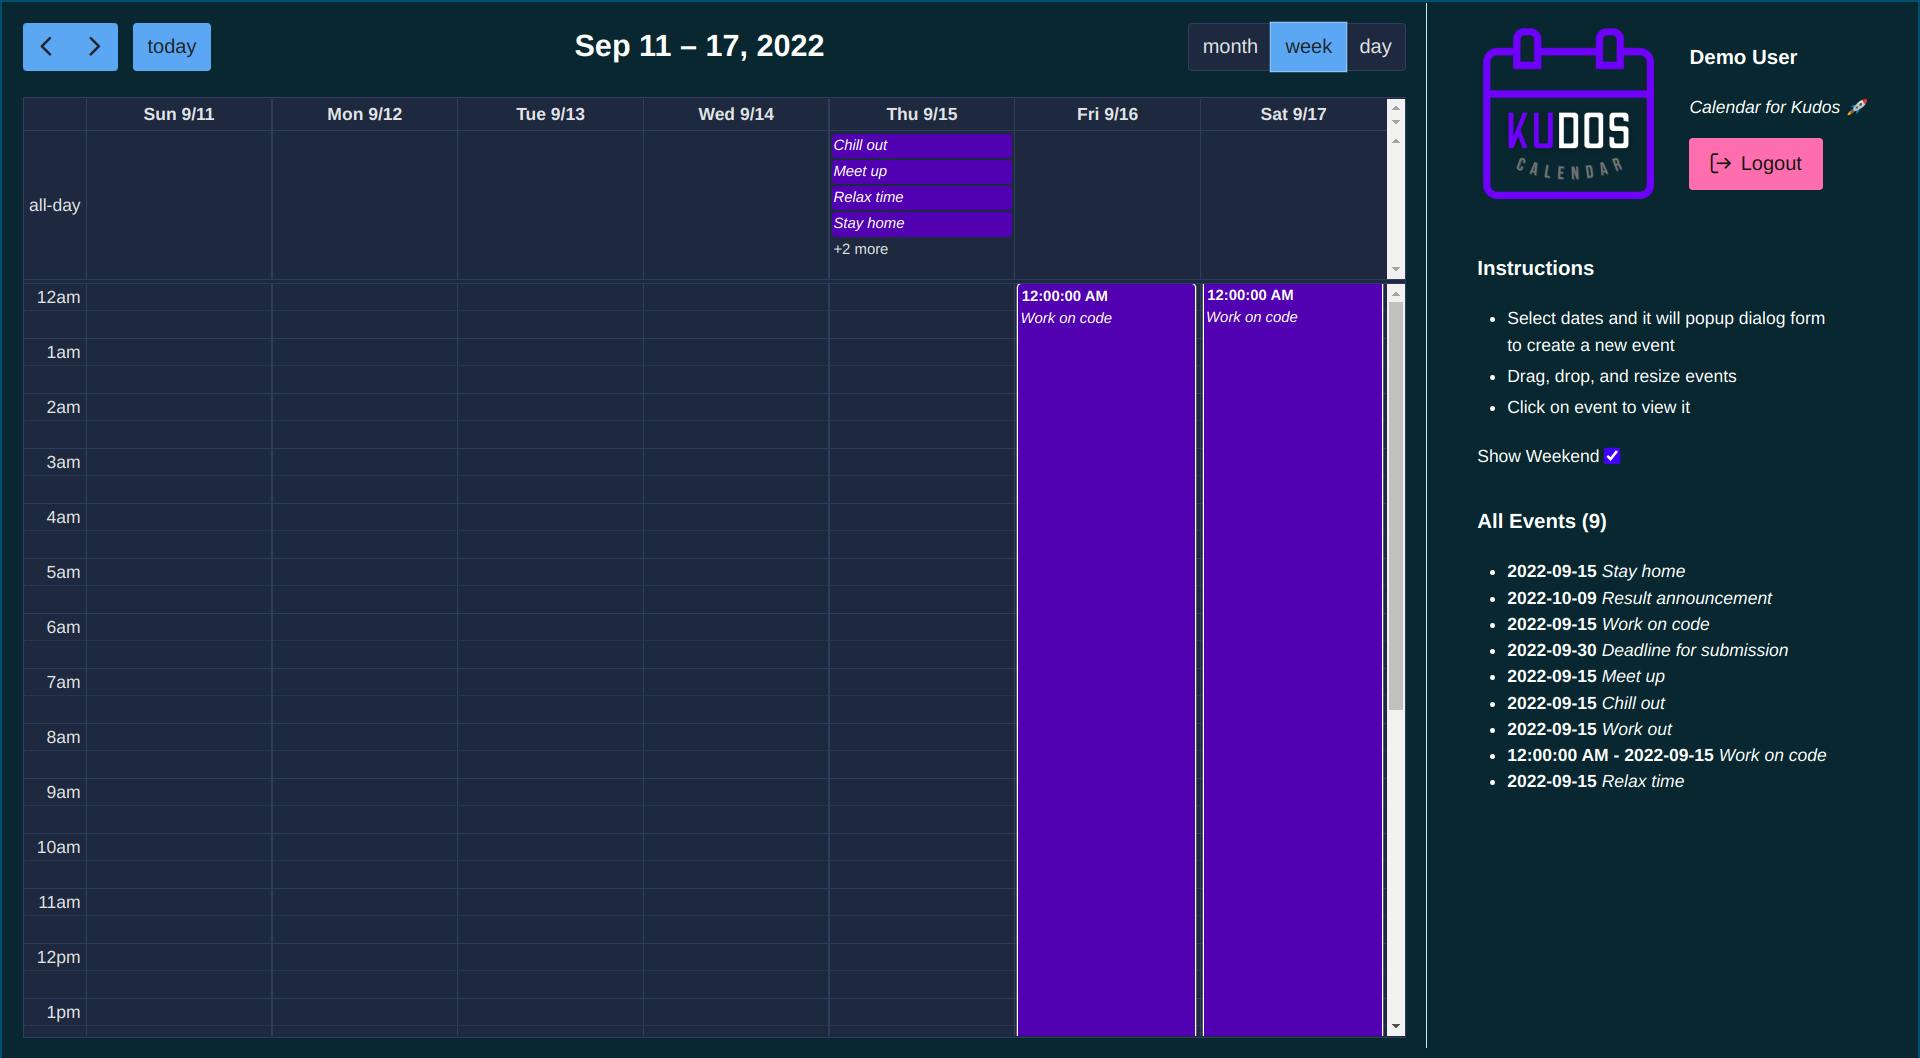
When we view it as a week (I wish I got a chill out time as I set in my Kudos as well T-T)
When we view Kudos as the day (Actually ‘all day’ I stay home to work on this project ;_;)

Everyone is welcome to try Kudos Calendar out 🎉🎉🎉!!! So, don't hesitate to
- Report the bug
- Request a new feature for Kudos Calendar
- Comment below to share your opinion on this project.
Conclusion 👏
Future of Kudos Calendar 🔮
- Update into a personal calendar for users to be able to have their own logos, and names on the calendars.
- Add push notifications
- Support to Integrate with other third parties application
Quote 💪

Just like the founder of Apple 'Steve Jobs' said above, time is a precious thing. So, I hope ‘Kudos Calendar’ will be worth your time and make your day more productive.
The Outcome of This Project to Me 😎
While I was doing this project, I got to learn many things and understand more about AWS amplify.
Personally, I find it convenient because it provides me less time consumption (when I built this project), strong security, built-in library tools for development, and amplify studio admin to set up the application back-end.
As a result, the Kudos Calendar is here now.

Thank you so much for spending time reading my article until the end (really appreciate that ). Since this is my first time writing this, I would like to apologize if there are any mistakes. Don’t forget to try Kudos Calendar out !!!

References 📄
I would like to thank 🙏🏻 the teams and creators of the open source below that made the Kudos Calendar Happens:
PrimeVue: primefaces.org/primevue
Full Calendar: fullcalendar.io
Vue: vuejs.org
Vue CLI: cli.vuejs.org Very helpful to bootstrap Kudos Project
Text Editor Quill: quilljs.com
AWS Amplify: docs.amplify.aws
- Hosting: docs.aws.amazon.com/amplify/latest/userguid..
- Studio: docs.amplify.aws/console
- CLI: docs.amplify.aws/cli
- UI: ui.docs.amplify.aws/vue
Participate in AWS Amplify Hackathon